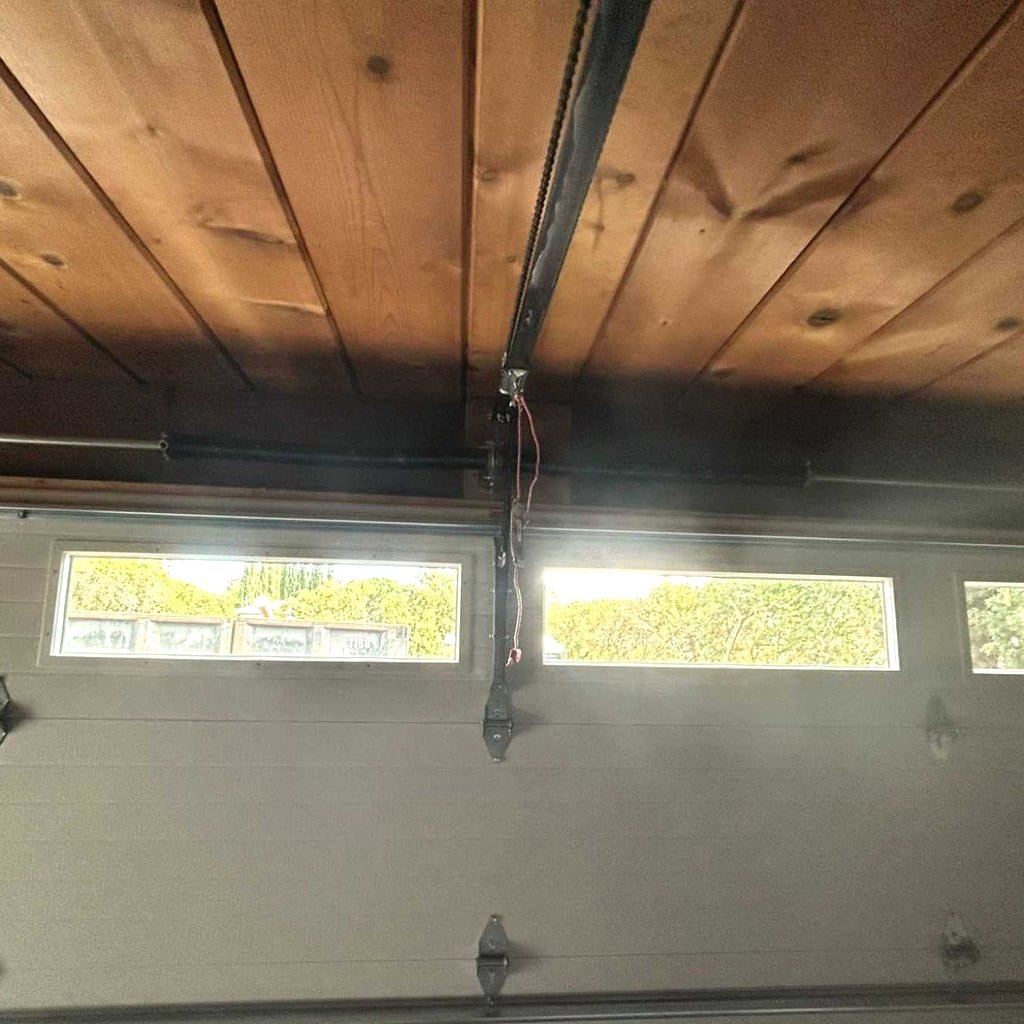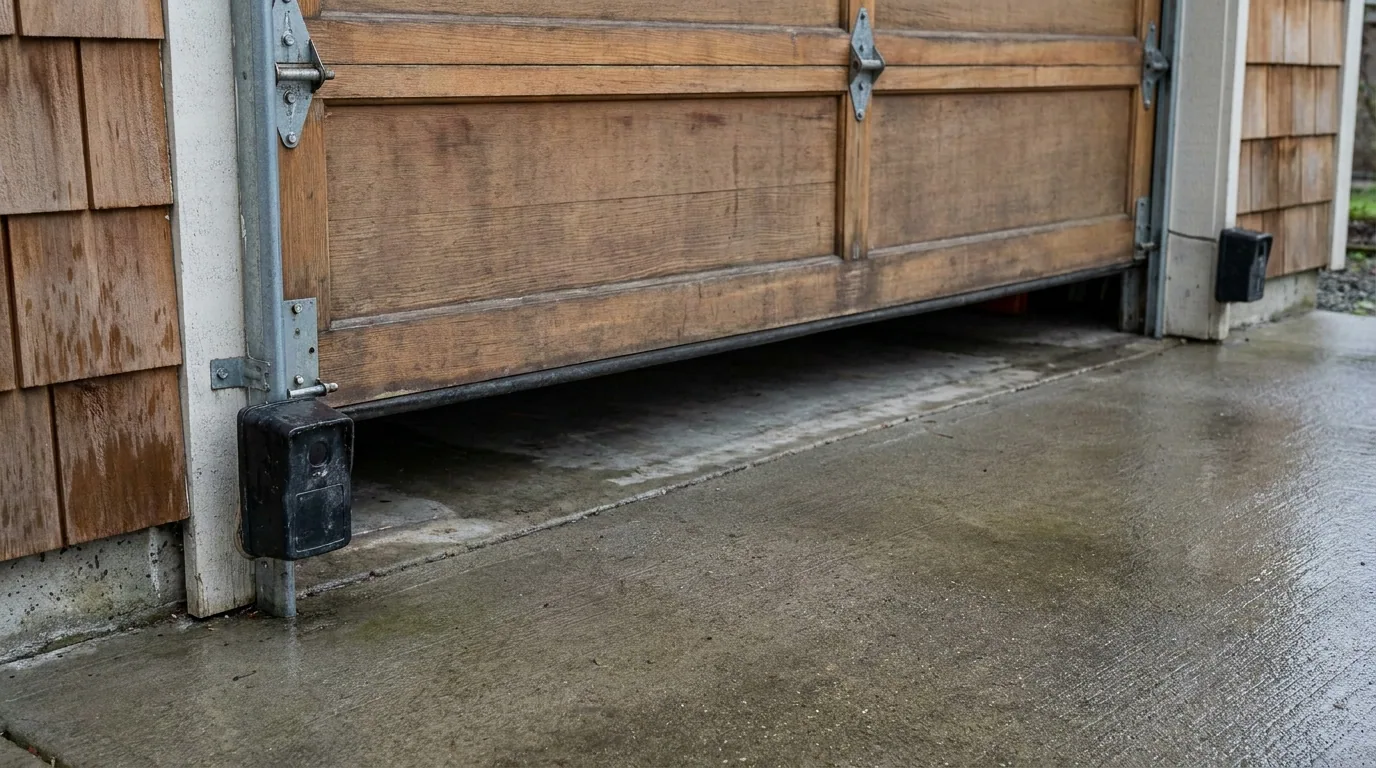
The photo-eye is the pair of small lenses mounted a few inches off the floor on each side of the garage opening. One sends an invisible beam across the doorway; the other receives it. The opener uses that beam as a safety device on the closing travel only: if something breaks the beam while the door is coming down, the door reverses. Because the eyes sit low and face each other across an open span, they collect dust, get bumped by bicycles and garbage bins, and drift out of alignment. Many of the problems homeowners blame on the opener trace back to this one pair of sensors. This article covers the checks you can safely make yourself, what each symptom actually points to, and where the work belongs to a technician. It applies to the sectional doors on newer buildings around San Francisco and to the tilt-up and single-panel doors still on many older ones.
Start with what the opener is doing
Before you touch anything, watch one full cycle and note exactly where it stops. The behavior narrows the diagnosis faster than any tool.
- The door closes partway and reverses to fully open. Something interrupted the beam during the down travel. This is the classic photo-eye symptom, and it is the one case where the sensors are the first suspect.
- The door will not start at all. No motor sound, no light, no click. The photo-eye is not the cause here. A blocked beam does not prevent a door from starting; it only affects a door that is already closing. Look instead at power, the wall button, or the logic board.
- The door opens a few inches and reverses. That is a travel-limit or force-setting problem, not a sensor problem. The opener thinks it has hit an obstruction on the way down.
- The door closes fully but the opener light flashes. Often a marginal beam rather than a fully blocked one, which is where a dirty lens or a loose bracket shows up.
Getting this first observation right saves a lot of unnecessary fiddling with the sensors.
The checks that belong to you
Everything in this section is done with your hands and eyes, standing on the floor, with the door fully open and the opener switched off at the wall.
Clear the beam path
Look across the opening at floor level and see whether anything sits between the two lenses: a broom handle leaning in the corner, a recycling bin pushed in too far, a bag of soil, a parked stroller. On narrow side setbacks this happens more than people expect, because there is simply less room to store things out of the path. Move anything that crosses the line between the sensors.
Wipe the lenses
A dry cloth or a paper towel is enough. Dust, cobwebs, and the film that builds up in foggy weather all cut down how much of the beam reaches the receiver. Do not spray cleaner directly onto the lens; dampen the cloth instead, and keep moisture out of the housing.
Check that both units are pointed at each other
Each sensor is held by a small bracket, and those brackets get knocked. With the door open, stand back and see whether the two lenses face each other squarely or whether one is angled toward the wall or the ceiling. Most units have a small indicator light that comes on when the receiver is getting a clear signal; if yours has one, it is the most useful thing on the whole system. A gentle hand adjustment of the bracket, a little at a time, is fine. Do not loosen the bracket screws all the way or you will lose the setting entirely.
Check the wiring you can see
Follow the thin low-voltage wire from each sensor back toward the wall or the ceiling. You are looking for a wire that has been pinched by a door track, chewed, or pulled loose from its terminal. If a wire is hanging by a thread or the insulation is cut through, stop there and call a technician rather than splicing it yourself.
Check the sun
Low morning or late-afternoon sun shining directly into the receiving lens can overpower it, and the door will reverse on the way down only at that time of day. If the problem comes and goes with the hour, that is worth noting before you call anyone.
What the symptoms actually mean
A door that reverses during closing has several possible causes, and the photo-eye is only one of them. The others are a travel limit set too short, a force setting that is too sensitive, and a failing logic board. The test that separates them is the sensor indicator: if the receiver light is steady with the doorway clear, the beam is fine and the fault is in the opener's settings or board, which is technician work. If the light is off or flickering with nothing in the way, the sensors or their wiring are the problem.
A door that will not respond at all is a different diagnosis. The photo-eye has no role in starting a cycle, so a dead door points to power, the wall button, the safety circuit, or the board. Do not spend an afternoon on the sensors for a door that never moves.
Where a technician takes over
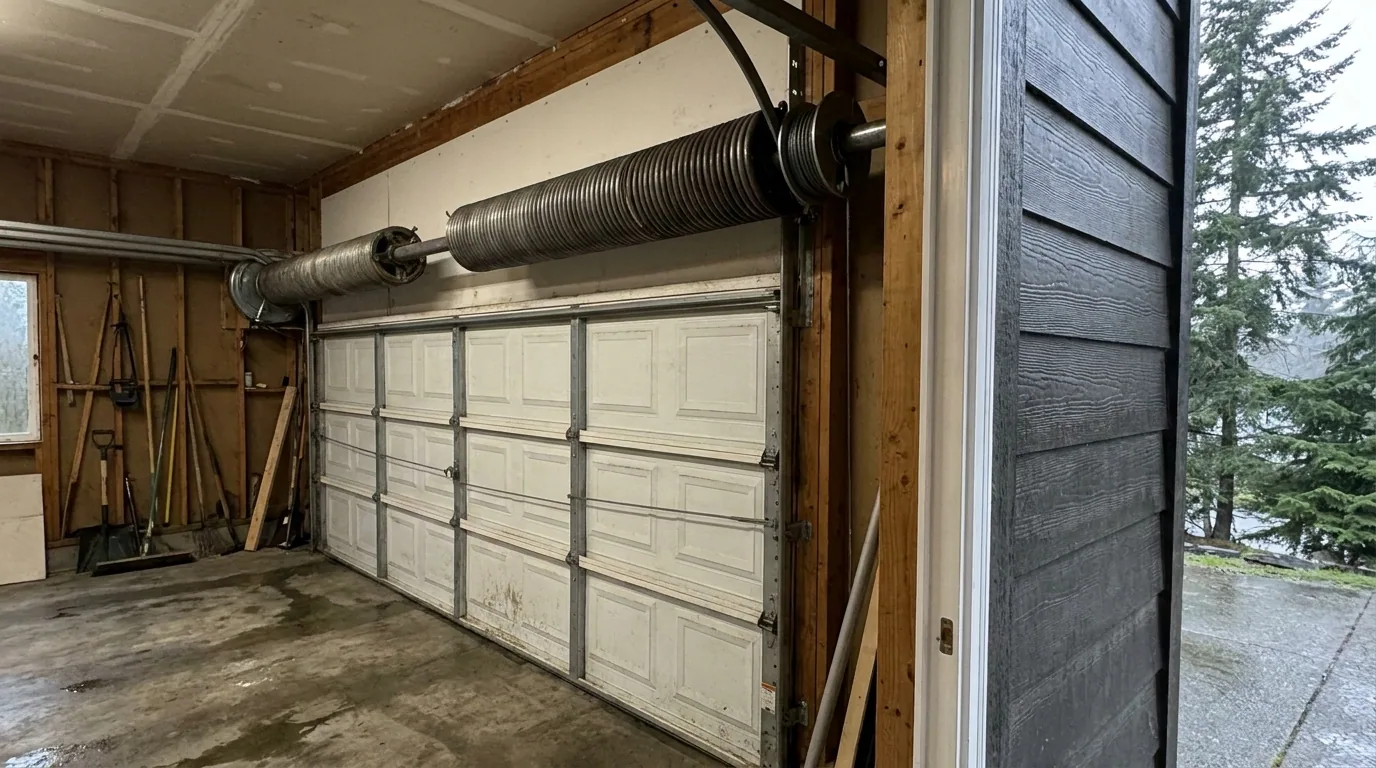
Call for help if the sensors will not hold alignment after a careful adjustment, if the wiring is damaged, if the receiver light stays off with clean lenses and a clear path, or if the door still reverses after you have ruled the beam out. The same applies to anything involving the springs, the cables, the track, or the opener's internal settings. Those parts carry the door's weight or store energy, and adjusting them by hand is how people get hurt. A tune-up and safety inspection is the right occasion to have the whole safety circuit, including the photo-eye, checked and set properly. Same Day Garage Door Repair & Service works across San Francisco and can be reached at (415) 992-9484.